
A 3D rendering lets you choose exterior materials and colors on the actual shape of your house before anything is ordered. The method that works is to decide in order of permanence: roof first, then brick or stone, then siding, then trim, and accents last. Compare two or three complete combinations side by side, look at them in the light your lot really gets, and confirm the winners with physical samples outdoors. Done that way, a 3D rendering of exterior materials replaces guesswork at the brick yard with one clear decision.
MidWest Plan Design offers 3D renderings with its house plans. Our earlier article covers why 3D home renderings are worth the investment. This one is the how-to.
What a rendering shows that drawings cannot
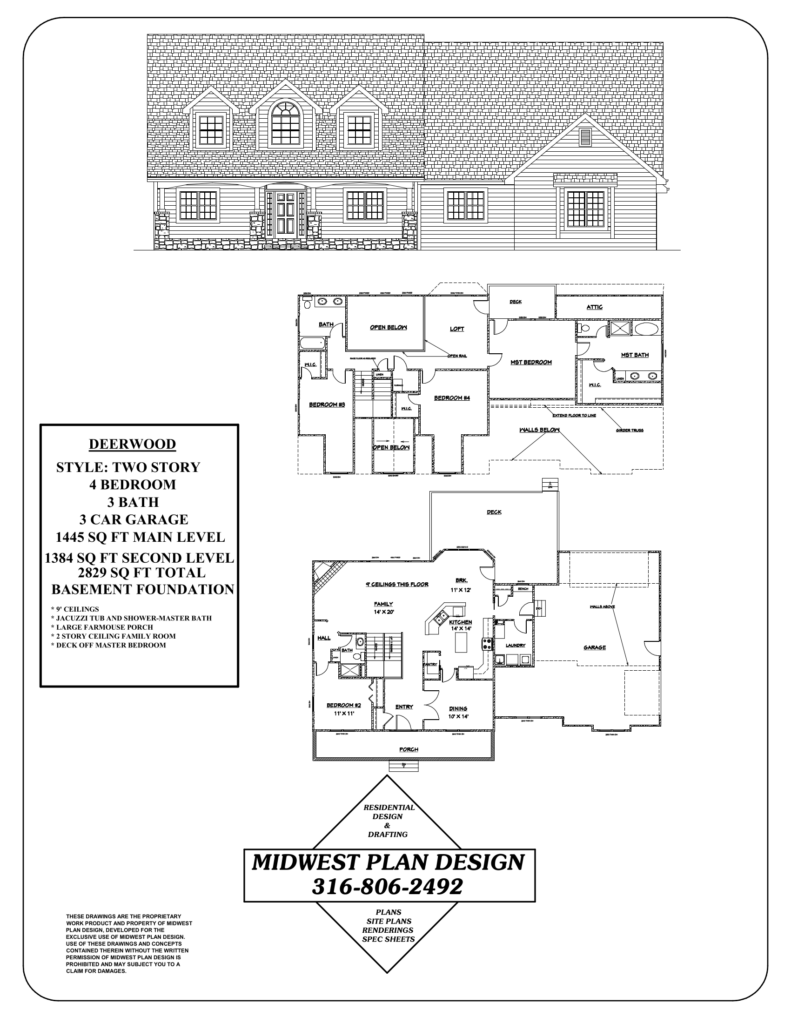
Elevations are flat, black-and-white line drawings. They tell the builder where stone stops and siding starts. They do not show how a dark roof looks over light siding, or how much of the front is garage door. A rendering adds perspective, color, texture and shadow to the same design.
| Question | Elevation drawing | 3D rendering |
|---|---|---|
| Where does each material start and stop? | Yes | Yes |
| How do the colors look together? | No | Yes |
| How deep are the shadows under the porch and eaves? | No | Yes |
| How does the house look from the street corner? | No | Yes |
| What do the trades build from? | Yes | No |
Both are needed. See exterior elevation drawings for how to read the construction version.
Choose in order of permanence
Start with what is hardest to change and work toward what is easiest.
1. Roof
The roof is the largest single color on most houses and it will be there for decades. Choose its color and material first. In Kansas, ask about impact-rated shingles because of hail. Color matters for more than looks. The U.S. Department of Energy notes that a cool roof reflects more sunlight and stays cooler than a conventional dark roof.
2. Brick and stone
Masonry is permanent and cannot be repainted to fix a mismatch without changing its character. Pick the brick or stone, and the mortar color with it. Mortar is a large share of what you see in a brick wall and it shifts the overall tone.
3. Siding
Lap siding, board and batten or stucco comes next. Choose a color that works with the roof and masonry already selected. This is where a 3D rendering of exterior materials earns its cost, because the siding and masonry meet along lines that are hard to imagine from a sample board.
4. Trim, fascia and gutters
Trim outlines every window, corner and roof edge. Matching it to the siding makes the house look larger and calmer. Contrasting it draws attention to the shapes.
5. Windows and garage doors
Window frame color is set when the windows are ordered and is difficult to change. Garage doors cover a large part of many front elevations. Decide if they should blend with the siding or stand out. See garage layout planning for how door direction changes what the street sees.
6. Front door, shutters and lights
These are the accents. They are the cheapest items to change later, so choose them last and feel free to be bolder.
How to run the comparison
A 3D rendering of exterior materials is most useful when the comparison is controlled.
- Limit the field. Ask for two or three complete schemes, not ten. Each scheme should change one major element, such as stone versus brick, so you can see what that choice does.
- Keep the camera the same. Compare options from the same viewpoint, ideally the view from the street at eye level.
- Check a second angle. Look at the garage side and one rear corner. Material transitions at outside corners are where awkward stops show up.
- Set the sun correctly. Have the rendering lit for the direction the house will really face. A north-facing front is in shade most of the day and colors read darker and cooler. A west-facing front takes strong afternoon light.
- View it at full size. Look on a large screen, not a phone.
- Sleep on it. Look again the next day before deciding.
Confirm with real samples
A screen cannot match paint, brick and shingle colors exactly. Treat the 3D rendering of your exterior materials as the way to narrow the choice, then verify.
- Get physical samples of the roofing, masonry, siding color and trim color.
- Lay them together outdoors on the lot, in sun and in shade.
- Look at them in the morning and late afternoon.
- Ask your builder for addresses of finished homes that used the same brick or shingle, and drive by.
Many paint and siding manufacturers also offer free online visualizer tools. They are useful for quick color tests. They work on a photo or a generic model, so they will not show your roofline, your masonry or your lot.
Rules of thumb that hold up
- Three main colors. A body color, a trim color and one accent, plus the roof. More than that looks busy.
- Let one material lead. If the stone is strongly patterned, keep the siding quiet.
- Stop materials at inside corners. Stone that ends at an outside corner looks pasted on. Wrap it around or end it where two walls meet.
- Relate the masonry height to something. Window sills are the usual line.
- Mind the neighbors. You do not need to match, but the house should not fight the two beside it.
Rules that may limit your choices
Before you fall for a scheme, check what applies to your lot.
- Subdivision covenants. Many set a minimum amount of masonry on the front, allowed roofing types or a color review. The homeowners association may want the rendering or the elevation with a materials list.
- City standards. Some cities near Wichita regulate appearance. The City of Derby applies building variety standards to newer lots, requiring similar homes near each other to differ in roof lines, windows or exterior materials.
- Historic areas. Work in or near Wichita’s historic districts can be reviewed for materials. See narrow lot house plans in Wichita.
What the rendering feeds into
Once the scheme is chosen, write it down. The selections go into the material descriptions that accompany the plans, so every builder who bids prices the same roof, brick and siding. That keeps allowances honest and prevents substitutions. See how a home designer works with your builder and can you take house plans to any builder.
Frequently asked questions
Can I upload a picture of my house and try exterior paint colors?
Yes, with the visualizer tools that paint brands offer. They are good for repainting an existing house. For a house that is not built yet, a 3D rendering from the plans is the accurate way to preview it.
What exterior color makes a house look expensive?
No single color does. Restraint does: a limited palette, materials that stop at logical places, trim sized to the windows and a roof color that ties it together.
Is a rendering the same as the final product?
No. It is a close preview. Real brick varies from piece to piece and real light changes through the day. That is why samples on the lot are the last step.
How many options should I ask for?
Two or three. Decide the roof and masonry first, then compare siding and trim colors within that frame.
Can the style be changed without changing the floor plan?
Usually. The same plan can be drawn with different roof forms, porches and materials. See modern farmhouse house plans for an example of how far the exterior can move.
Sources
- Cool roofs, U.S. Department of Energy
- Building variety standards letter, City of Derby
- Historic Preservation, City of Wichita
See your exterior before you order a single brick
Gary Wilbert has more than 30 years of residential design experience. MidWest Plan Design prepares 3D renderings along with house plans for homeowners and builders in the Wichita area. Call 316-806-2492 or request a consultation.